Learn how to use pour over coffee maker gear in one pass: weigh the coffee, grind it medium coarse, bloom the grounds, then pour hot water slowly in stages until the stream turns to a drip.
This guide covers one method in depth. For how to brew coffee at home with other methods and equipment, start with the how to brew coffee at home hub.
How a pour-over extracts flavor
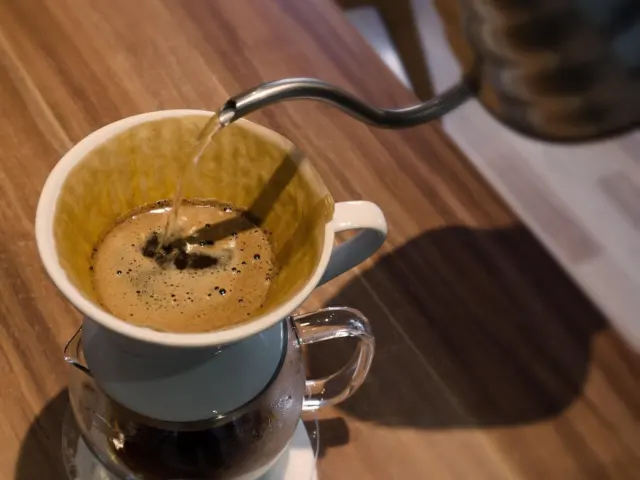
Pour-over is a manual method: you hand-pour water over coffee grounds in a filter, and the water extracts flavor as it passes through into a mug or carafe. The same source notes that the method gives you more control than automatic drip. It also asks you to learn new techniques.
That control is the point. Three things decide the cup: how evenly the grounds are cut, how hot the water is, and how the water is delivered. When one of them is off, water takes the easy route. Channeling is the name for water finding a path around the grounds instead of working through them, and all infusion methods run that risk. Almost every fix later in this guide aims to keep the water moving evenly through the bed.
Equipment that shapes the cup
Gooseneck kettle
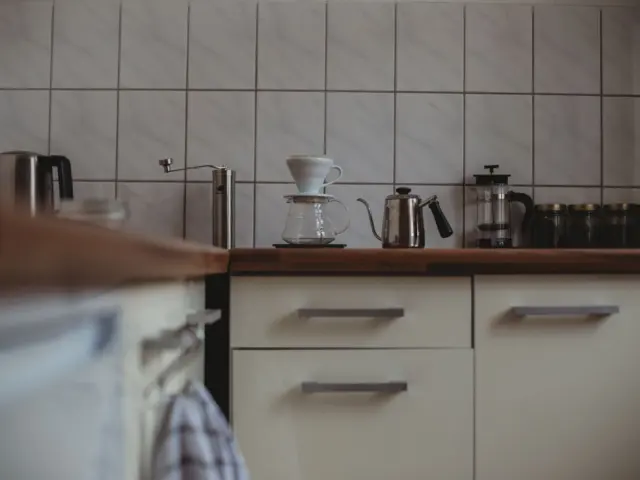
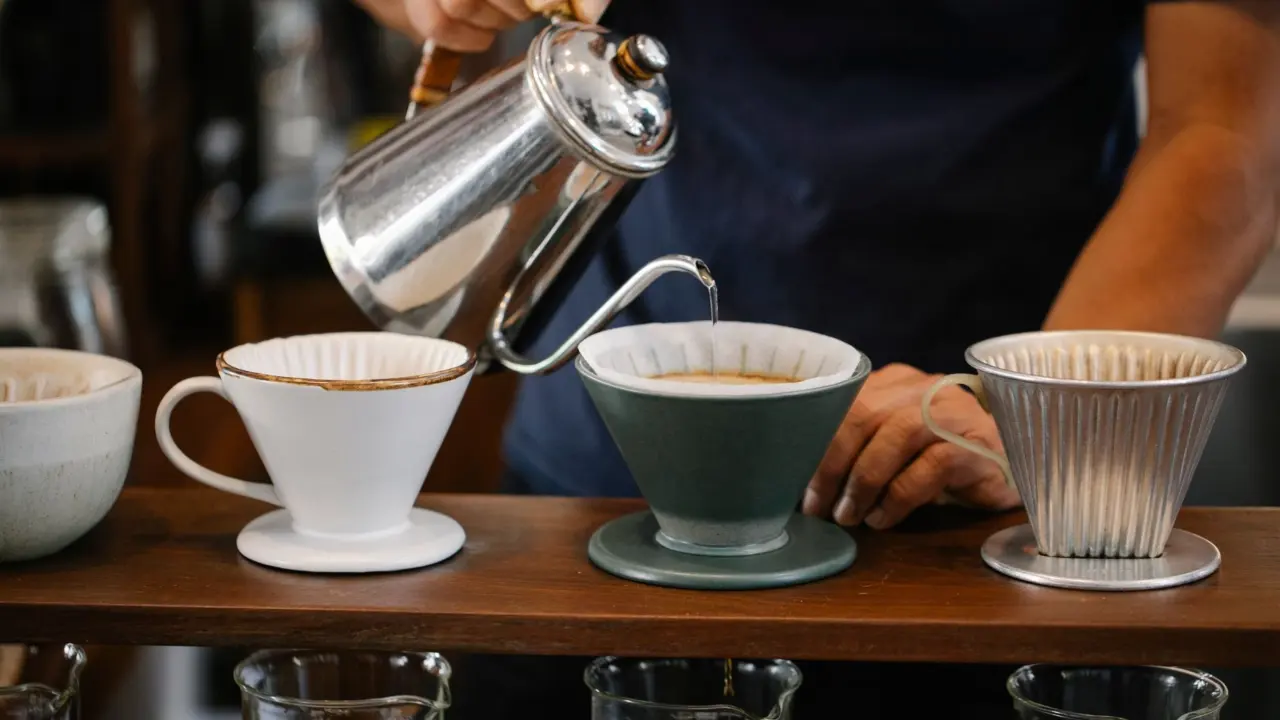
A gooseneck kettle has a long, thin spout that helps control the flow of water. It suits anyone who wants to place water gently on the grounds and pause between pours. A kettle with a wide spout makes the pouring patterns below harder to follow.
Burr grinder
A burr grinder is the grinder to choose for pour-over because it creates a more consistent grind. Consistency matters because lower-quality grinders can produce inconsistently ground coffee with a lot of fines, which throws off extraction. For a standard recipe, aim for a medium coarse grind, as one published recipe recommends, and adjust from there.
Paper filter
Paper filters absorb more of the coffee’s oils, which can give a cleaner, lighter taste. Choose paper if you like a bright, clear cup. Seat the filter so it sits flat against the dripper, because a bunched filter can stop water flowing evenly and cause channeling.
Ratio and water temperature
Measure coffee and water by weight. The values below are a workable starting recipe, not a fixed rule.
| Setting | Starting value | Planning use |
|---|---|---|
| Water temperature | 93 ± 3 °C before pouring | Rest freshly boiled water before the first pour so it lands inside this range. |
| Coffee to water | 32 g coffee to 575 g water | Weigh both on a scale and keep the proportion if you scale the recipe. |
| Grind | Medium coarse | Use this as the baseline before changing anything else. |
| Bloom | 75 g water, then wait 30 seconds | Wet all the grounds before the main pours begin. |
| Main pours | 100 g over 10 seconds, pause 10 seconds, repeat 5 times to 575 g total | Use the pause to let the bed settle between additions. |
| Finish cue | Stream slows to a drip | Lift the filter away at this point. |
Figures are drawn from About Coffee’s pour-over guide for temperature and from a published Chemex recipe for the rest.
Choosing a ratio
If you want a single number to begin with, 1:17, meaning 1 g of coffee to 17 g of water, is a generally accepted starting point. Other recipes land in the same neighbourhood at larger batch sizes: 38 g of coffee to 650 g of water is one example. Pick one ratio, brew it a few times, and change it only when the taste tells you to. Weighing makes that comparison fair from one brew to the next.
Water temperature in practice
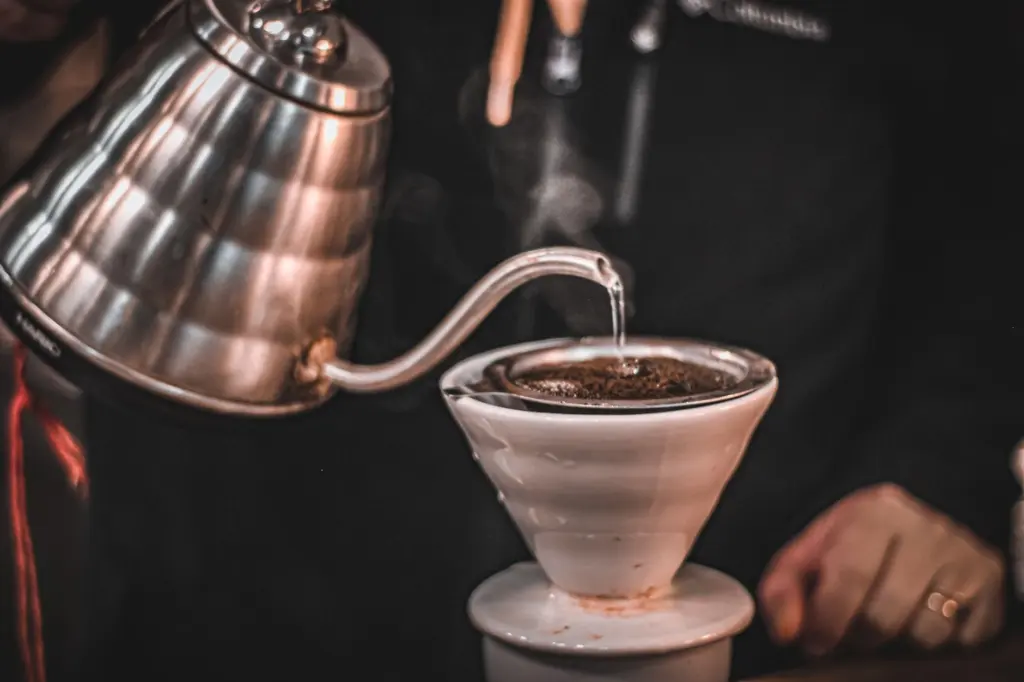
The suggested range is 93 ± 3 °C. To reach it without a thermometer, let boiled water rest for about a minute after the heat is off. A barista example from Perfect Daily Grind uses 92 °C (198 °F) water, which sits comfortably inside the same range.
Brewing step by step
- Heat the water. Bring it to a full boil, switch off the heat and let it rest.
- Weigh and grind. Grind the coffee medium coarse just before brewing.
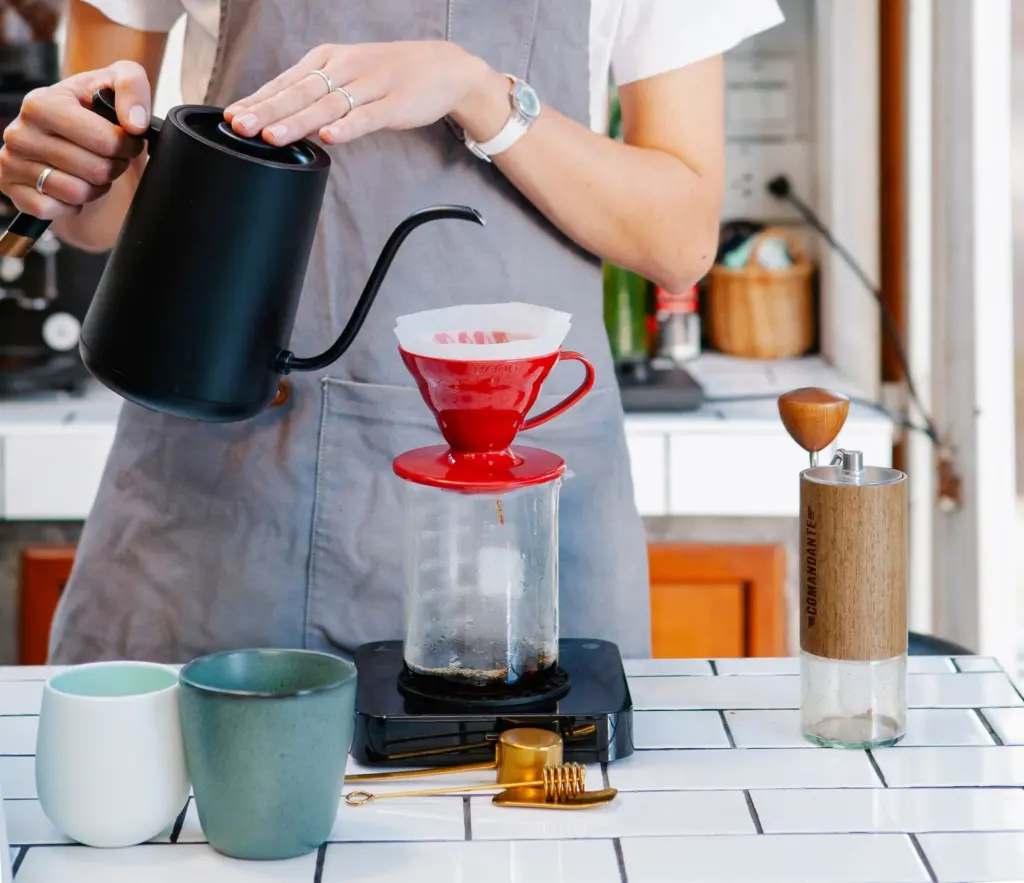
- Set up the filter. Seat the paper filter flat in the dripper, place the dripper over the mug or carafe, and put the whole setup on the scale.
- Bloom. Wet the grounds with a small first pour and wait.
- Pour in stages. Add the remaining water in slow additions with pauses between them.
- Finish. Remove the dripper once the stream turns to a slow drip, then drink.
Bloom
A bloom is the release of CO2 from the coffee as hot water first passes through the grounds. That recipe pours 75 g of water into the grounds and waits 30 seconds before the next step. Another guide uses an initial pour of 80 ml and about 30 seconds. A third keeps the first pour to just covering the coffee and waits about a minute. All three agree on the idea: soak every ground evenly, then pause. If you are unsure, start at 30 seconds and extend the wait only if the bed still looks dry in places.
Pouring and finishing
After the bloom, the recipe in the table pours 100 g of water over 10 seconds, pauses for 10 seconds, and repeats five times to reach 575 g in total. The pauses are as useful as the pours. They stop the bed from flooding and give you a moment to check that the water level is draining steadily.
Expect a total brew time that depends on the dose and your technique. A first cup should be ready in about three to four minutes, while a specialty barista with 92 °C water might finish in 2 minutes to 2 minutes, 10 seconds. Treat the longer figure as the realistic target while you are learning, and use the drip cue rather than the clock to know when to lift the dripper.
Fixing sour or bitter coffee
Taste points to the fix. Grind size is the first lever to try, because it is the adjustment named for both complaints.
- Sour or watery: try a finer grind on the next brew.
- Bitter: go coarser instead.
- Uneven or flat cups: check that the filter is not bunched and that your grinder is not producing many fines, since both interrupt even flow and extraction.
- Still off after grind changes: the same recipe’s troubleshooting advice lists water temperature, ratio and bean choice as the other levers.
Change one thing per brew and write down the grind setting, the weights and the brew time. A short log turns a vague guess into a cup you can repeat.
Where to go next
If you are weighing pour-over against a more concentrated drink, Espresso vs Coffee: How To Pick The Right Cup For Energy, Flavor, And Ritual (2026 Guide) – Greatnorthernbrewing compares the two. For a different style of brewing altogether, try Cold Brew Coffee At Home: A Simple, Foolproof Recipe For Smooth, Low-Acidity Coffee In 2026 – Greatnorthernbrewing.
Frequently asked questions
Can I measure coffee with tablespoons instead of a scale?
You can, but grams are more reliable. About Coffee advises measuring coffee and water in grams rather than tablespoons or ounces. Some blogs, such as this one, give about 1 tablespoon per cup, which is a volume guide with no weight-based ratio.
Is a blade grinder good enough for pour-over?
It is the weaker option. A blade grinder cannot ensure a consistent grind, which affects taste, so a burr grinder is worth the upgrade when you can afford one.
Do Chemex filters differ from other paper filters?
Yes. The Chemex uses paper filters that are 20–30% heavier than other filters.
Can I make several cups in one pour-over?
It depends on the brewer. The method may make only one cup at a time, so check your dripper’s capacity and scale the recipe by weight.